On this page
Why bypass the AC power supply
Starlink ships with a brick meant for a wall outlet. On a battery/solar system that's wasteful: your battery is already DC, so running DC → inverter → AC → brick → back to DC burns 10–20% in conversion losses and adds boxes that can fail.
Feed DC straight in instead and you get more runtime from the same battery, fewer failure points at a remote site, and a link that rides straight through grid outages with no transfer delay. Standard practice for WISPs, off-grid homes, vans and boats — the only catch is voltage.
The DC plant
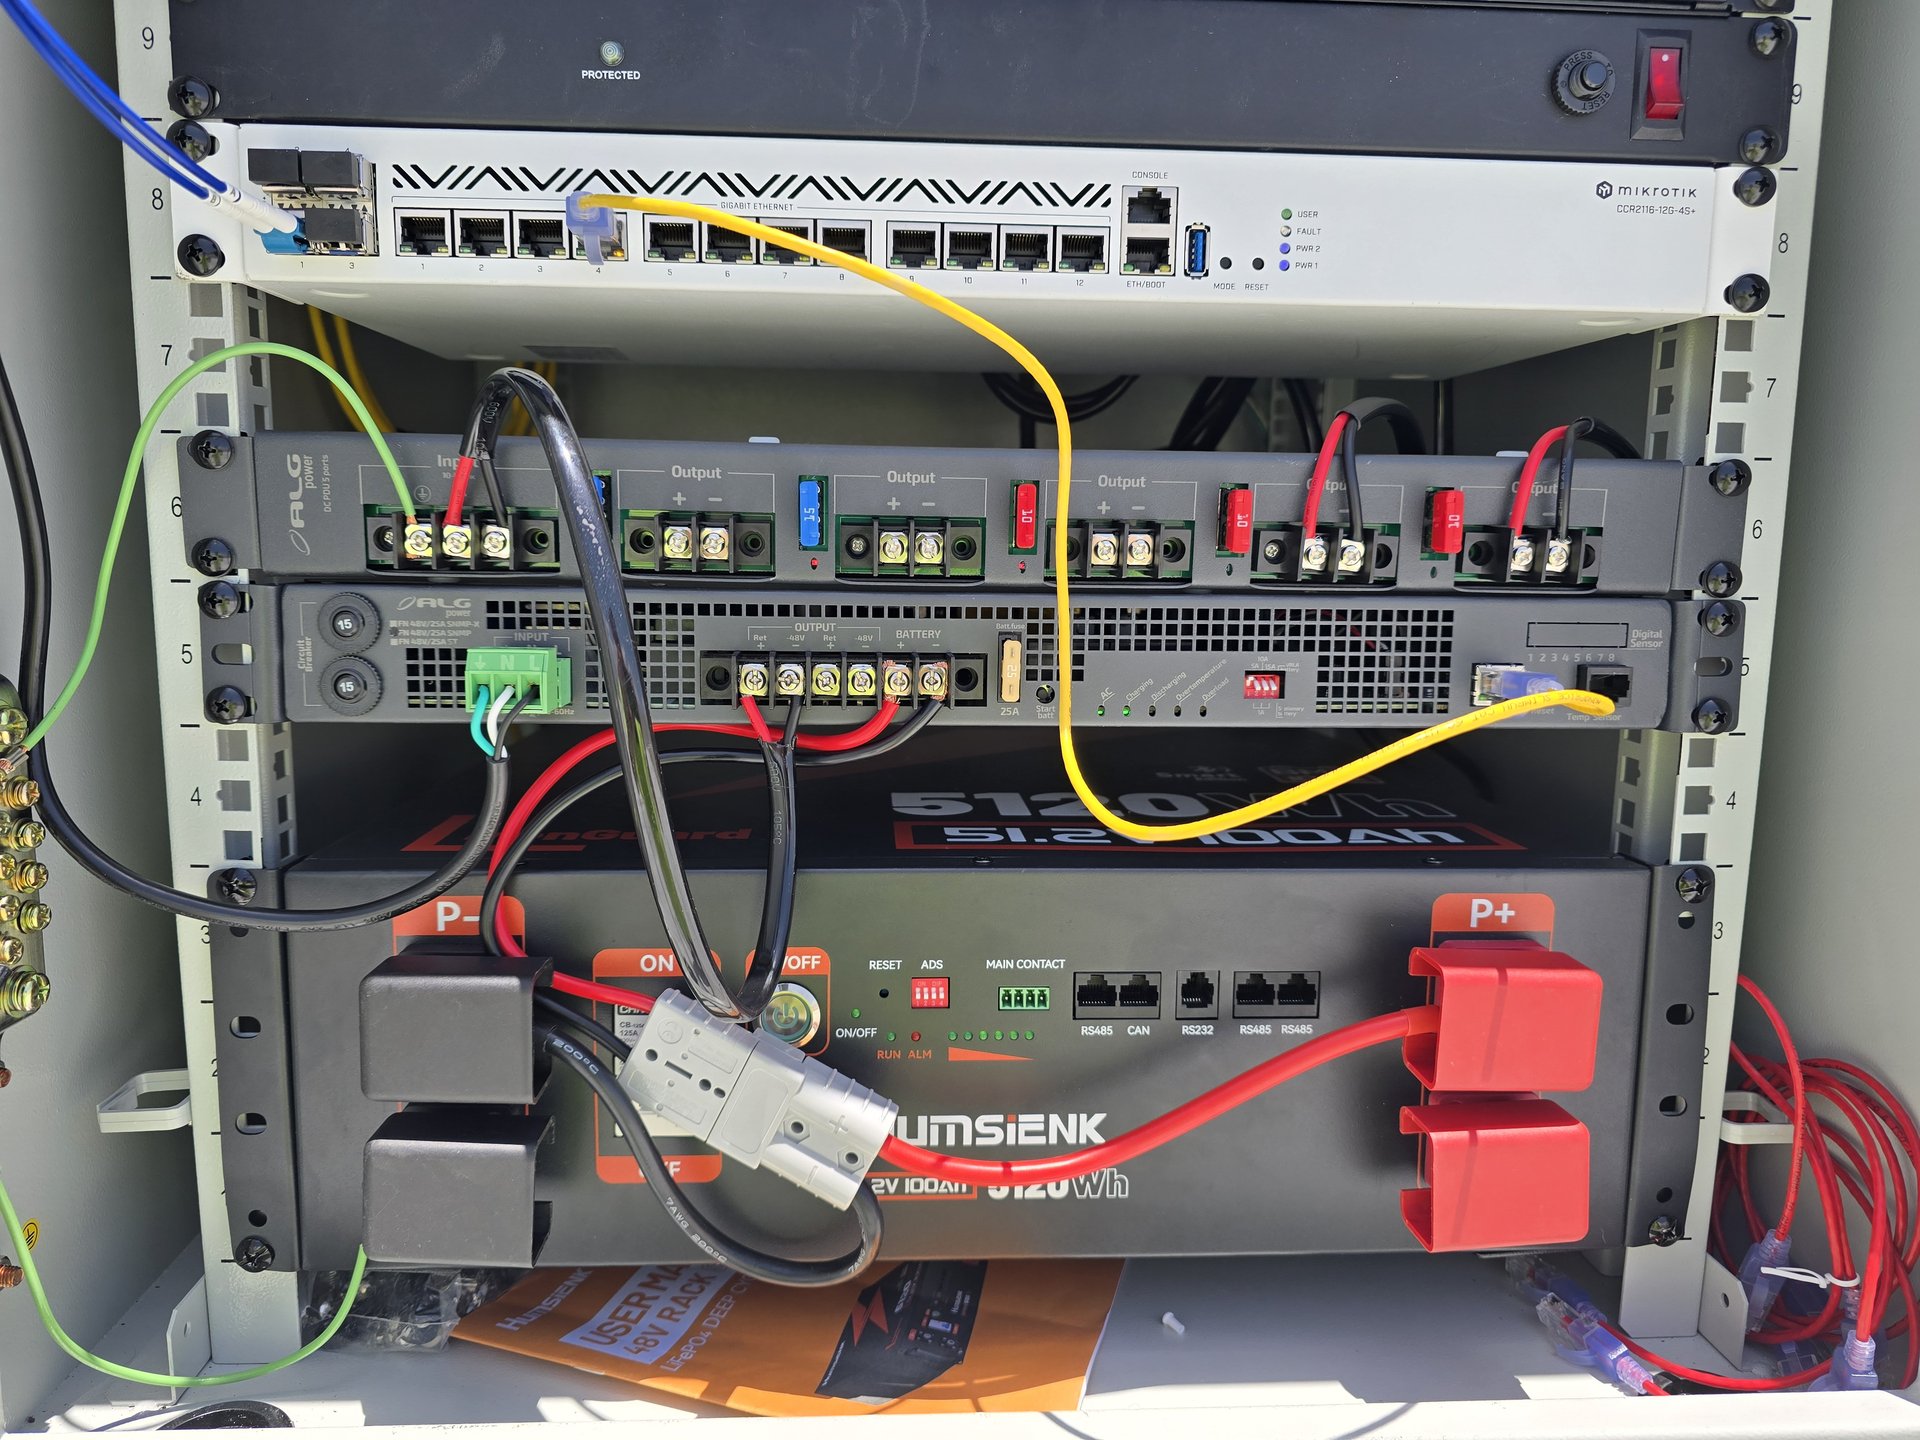
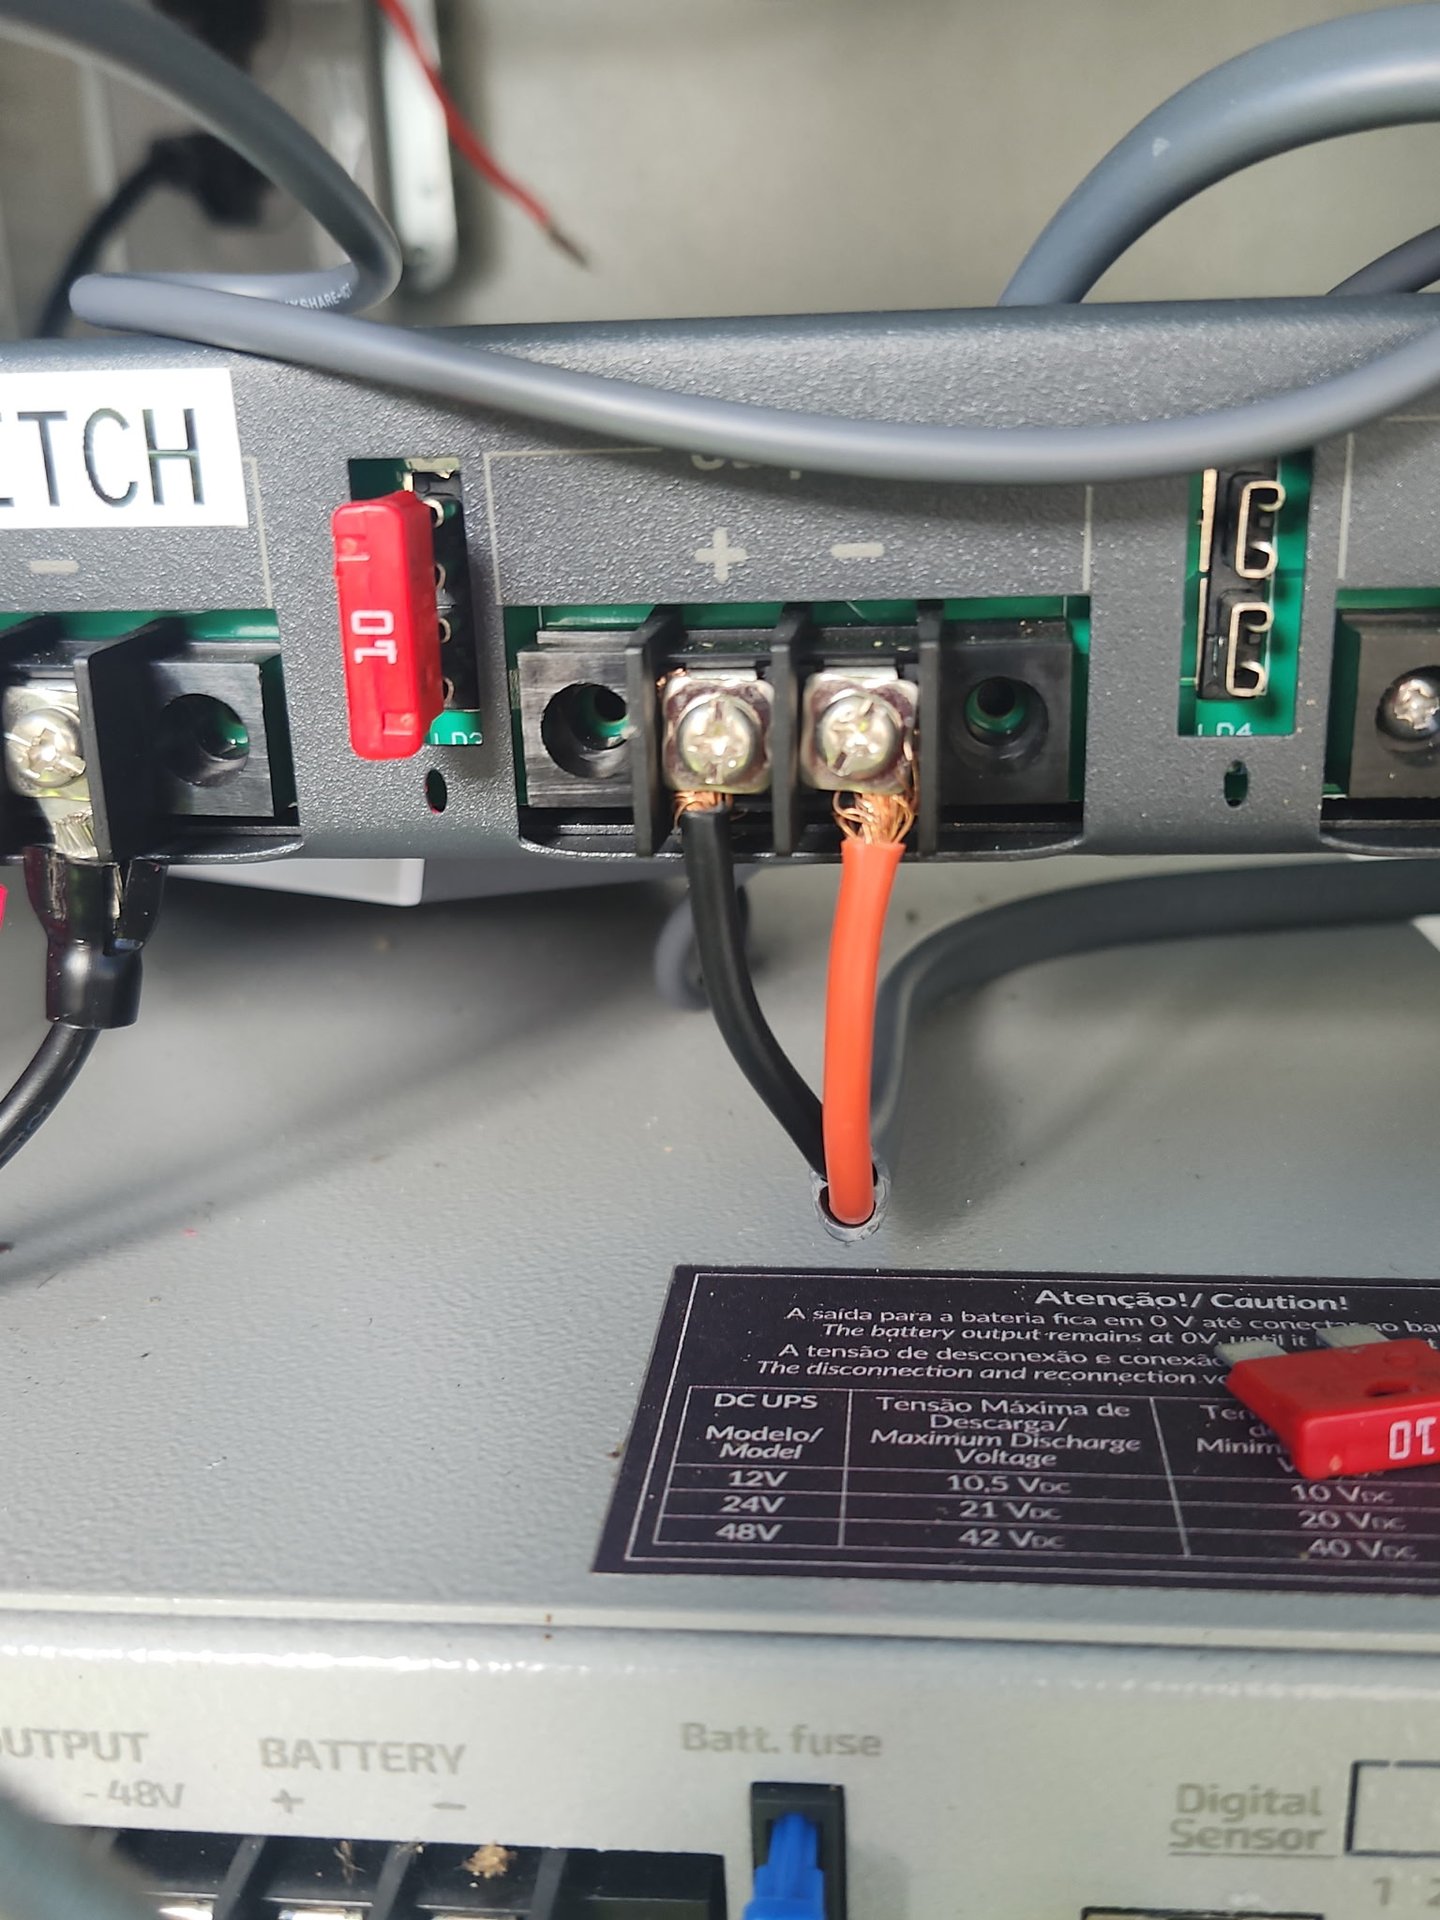
The heart of the build is a rack-mount LiFePO₄ battery and a telecom DC UPS that charges it and keeps everything up when the grid drops. Ours:
Know your battery voltage (this is where people fry things)
A "48V" or "51.2V" LiFePO₄ battery is not a steady 48V. Our Humsienk 16S pack swings across a wide range as it charges and discharges:
| Battery state | Bus voltage (16S LiFePO₄) |
|---|---|
| Discharge cutoff (BMS) | ~40V |
| Low / near empty | ~48V |
| Nominal | ~51V |
| Float / working | ~54V |
| Full charge | 57.6V |
Powering each Starlink on DC
Three common setups, three different voltage stories. Find yours.
Gen 3 — run it off the ~54V bus
This is the tower build. The Gen 3 dish and router run directly from the ~54V LiFePO₄ bus. Starlink's 48V-rated DC gear powers up and runs fine at 54V (see the voltage note above); for a fully in-spec job, pick a converter rated for the whole range. Mount the dish somewhere with a clean view of the sky.
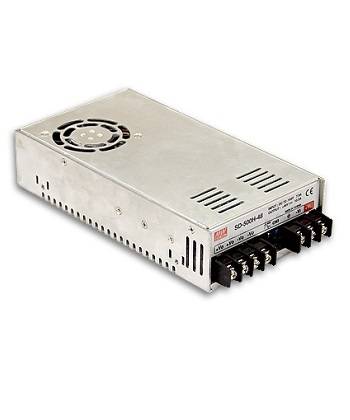
The clean, in-spec converter: a Mean Well SD-500L-48. It takes 19–72V in — covering your entire 40–57.6V battery swing — and its output adjusts 46–60V, so you dial it to a rock-steady 56V for the dish, balancing peaks and all. 500W is ample headroom for a Gen 3.
The "mini" barrel plug — a 12–48V DC feed
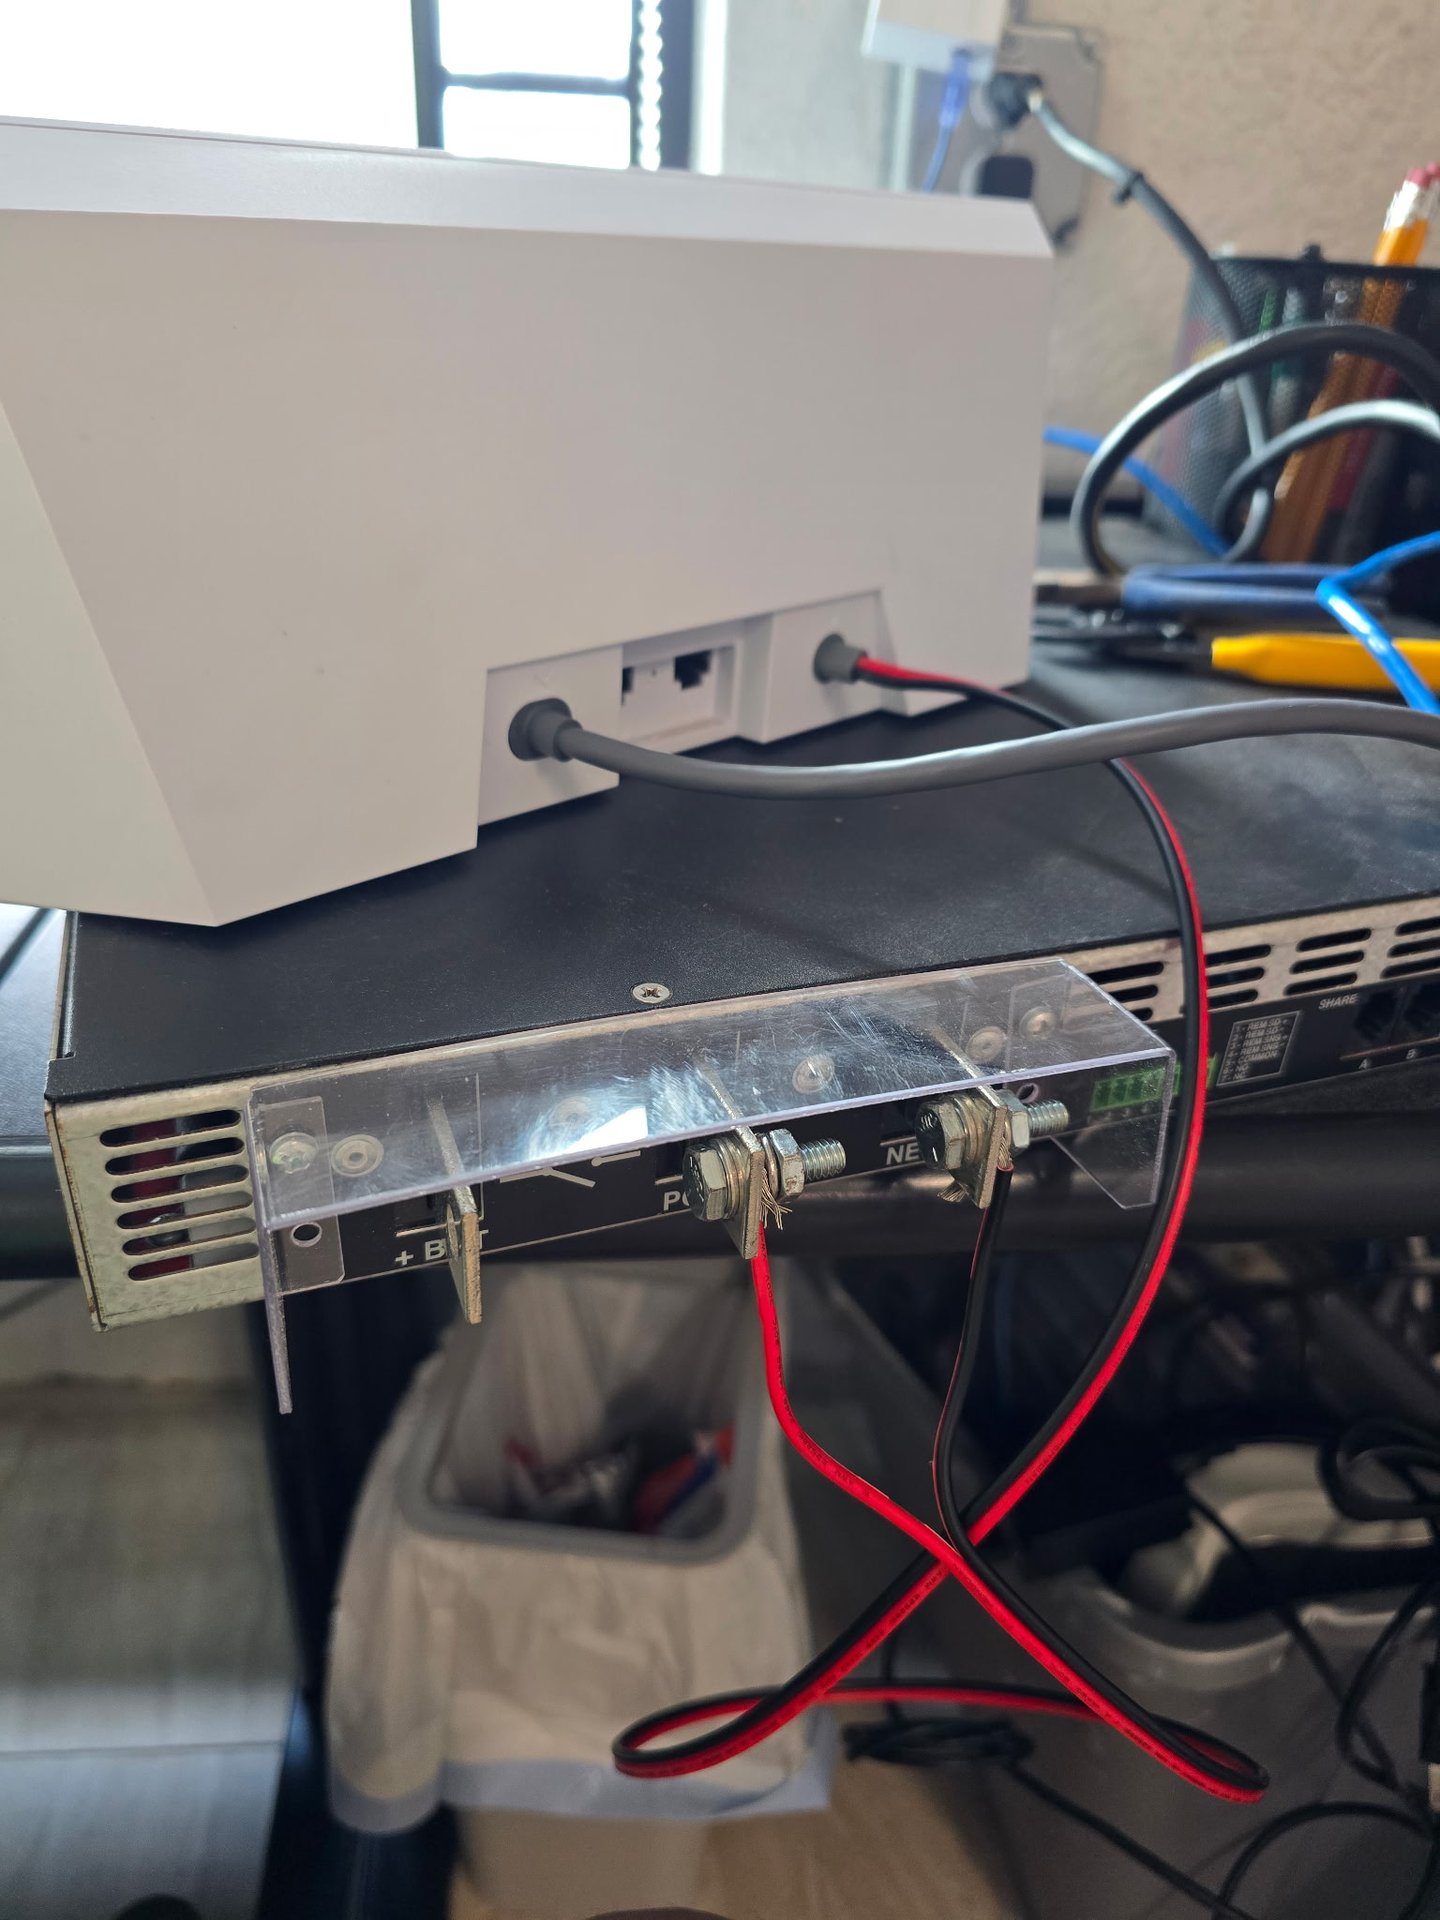
The small DC5521 (5.5×2.1 mm) "mini" plug is the easy DC connector — center pin positive. It's a tidy compact feed for any 12–48V source (and it's what the Starlink Mini uses). Use ≥14AWG so startup current doesn't drop the voltage. Running a 48V/51.2V pack that floats ~54V? Step down to about 36V first — anything on this plug expects 48V max.
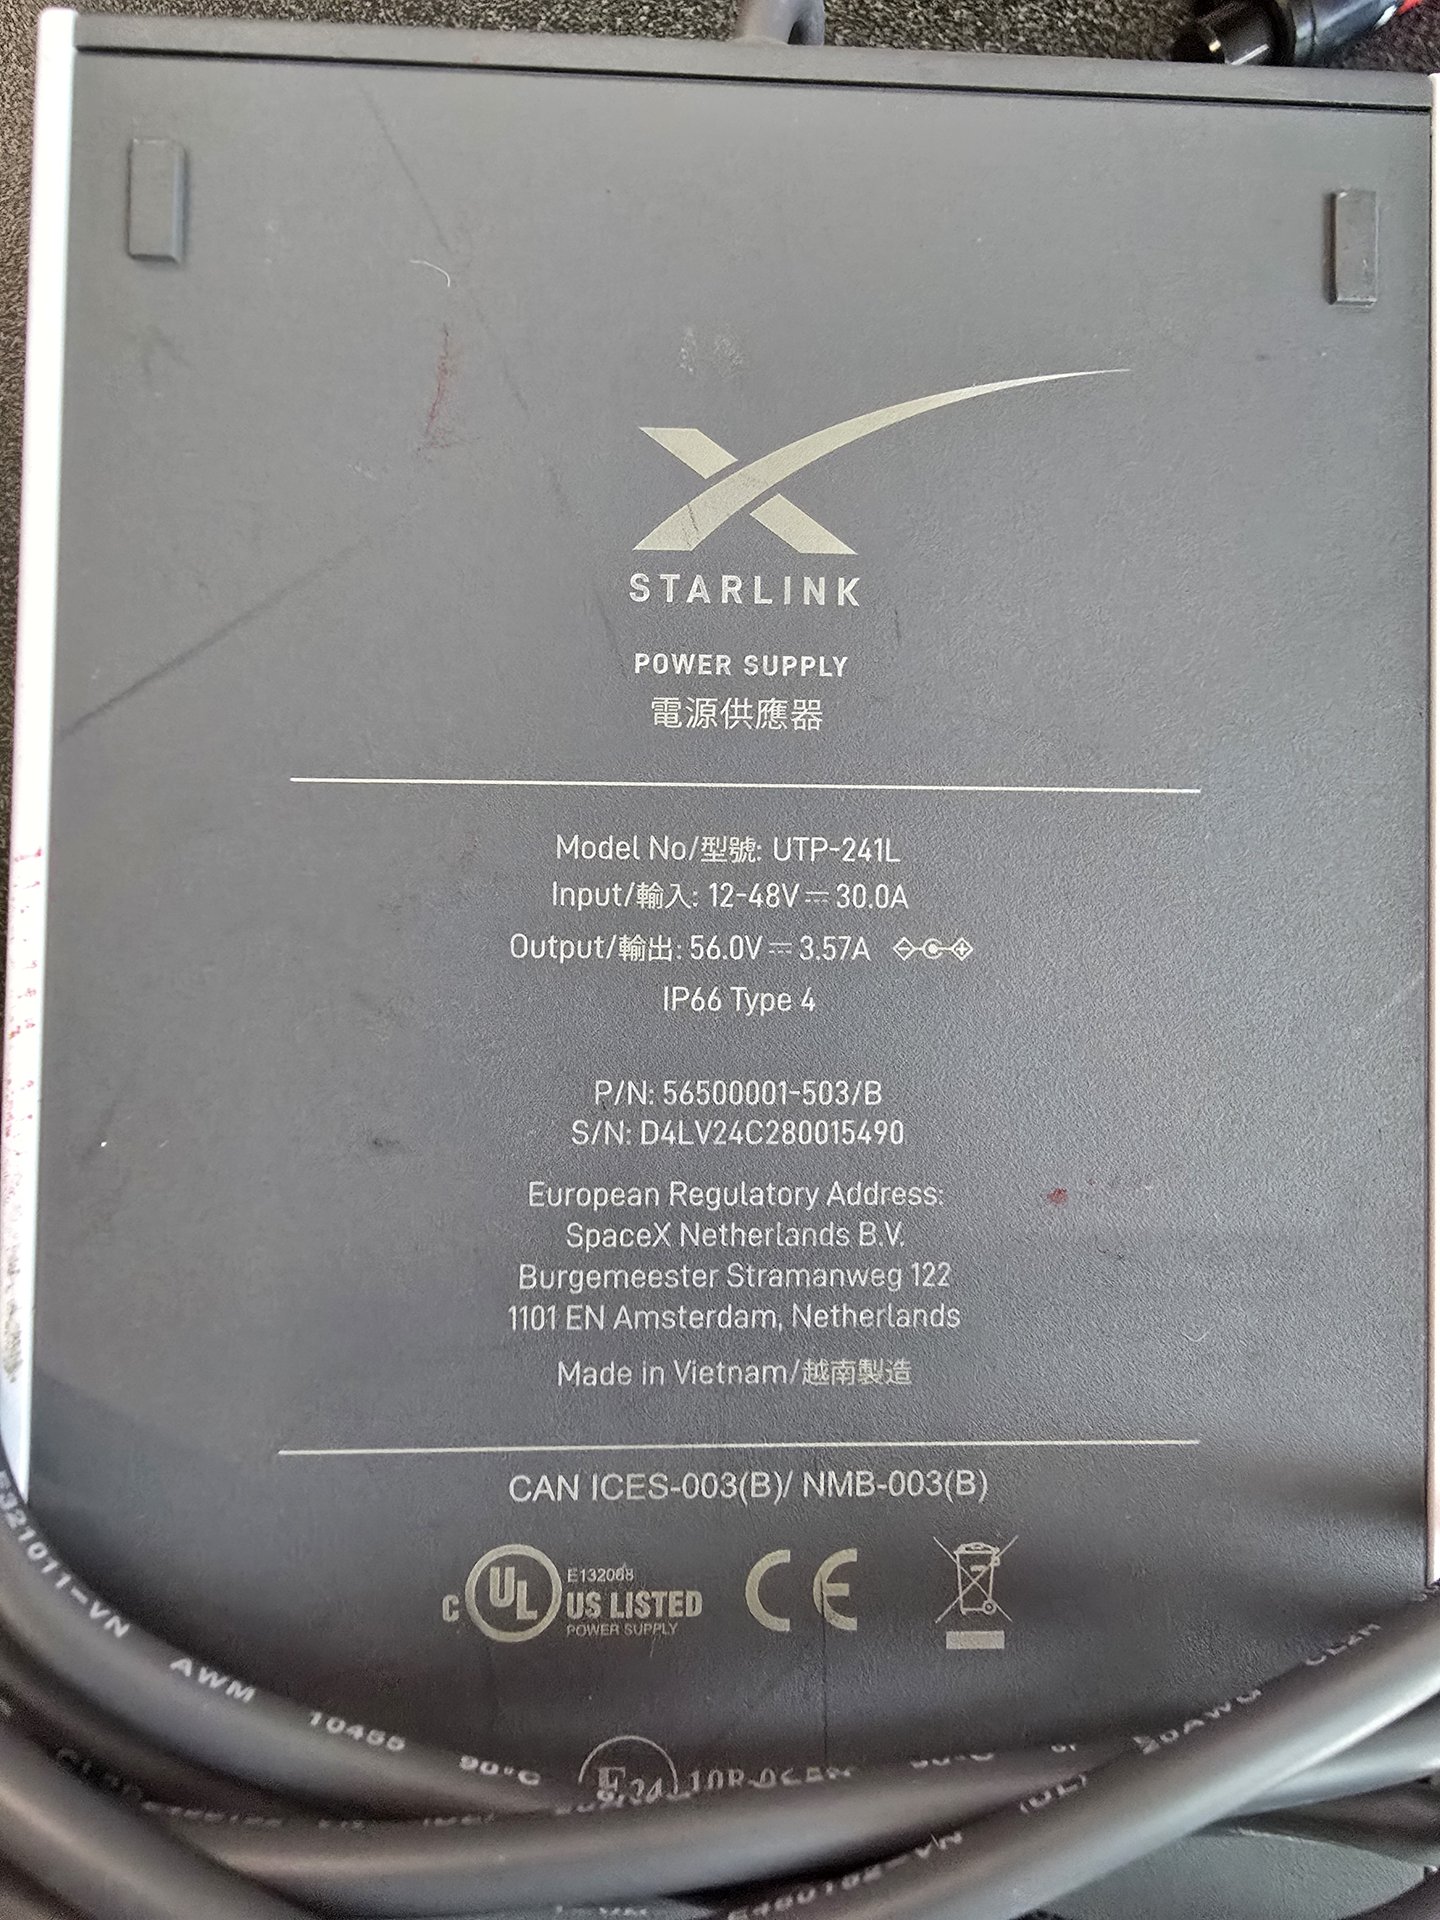
Low-voltage source — step up with the Starlink UTP-241L
Running off a 12V or 24V battery (car, RV, small solar)? Starlink's own UTP-241L power supply is a DC-DC unit: it takes 12–48V in and puts out the 56V Starlink wants — no AC, no inverter. This is the clean choice for lower-voltage systems.
Wiring & polarity
On barrel plugs the center pin is positive (+). On a telecom plant the terminals read Ret (return / battery +) and -48V (the hot): land input + on Ret and input − on -48V. Always fuse the input on the battery side, and use ≥14AWG so voltage drop doesn't starve the dish on startup.
Tower-site example
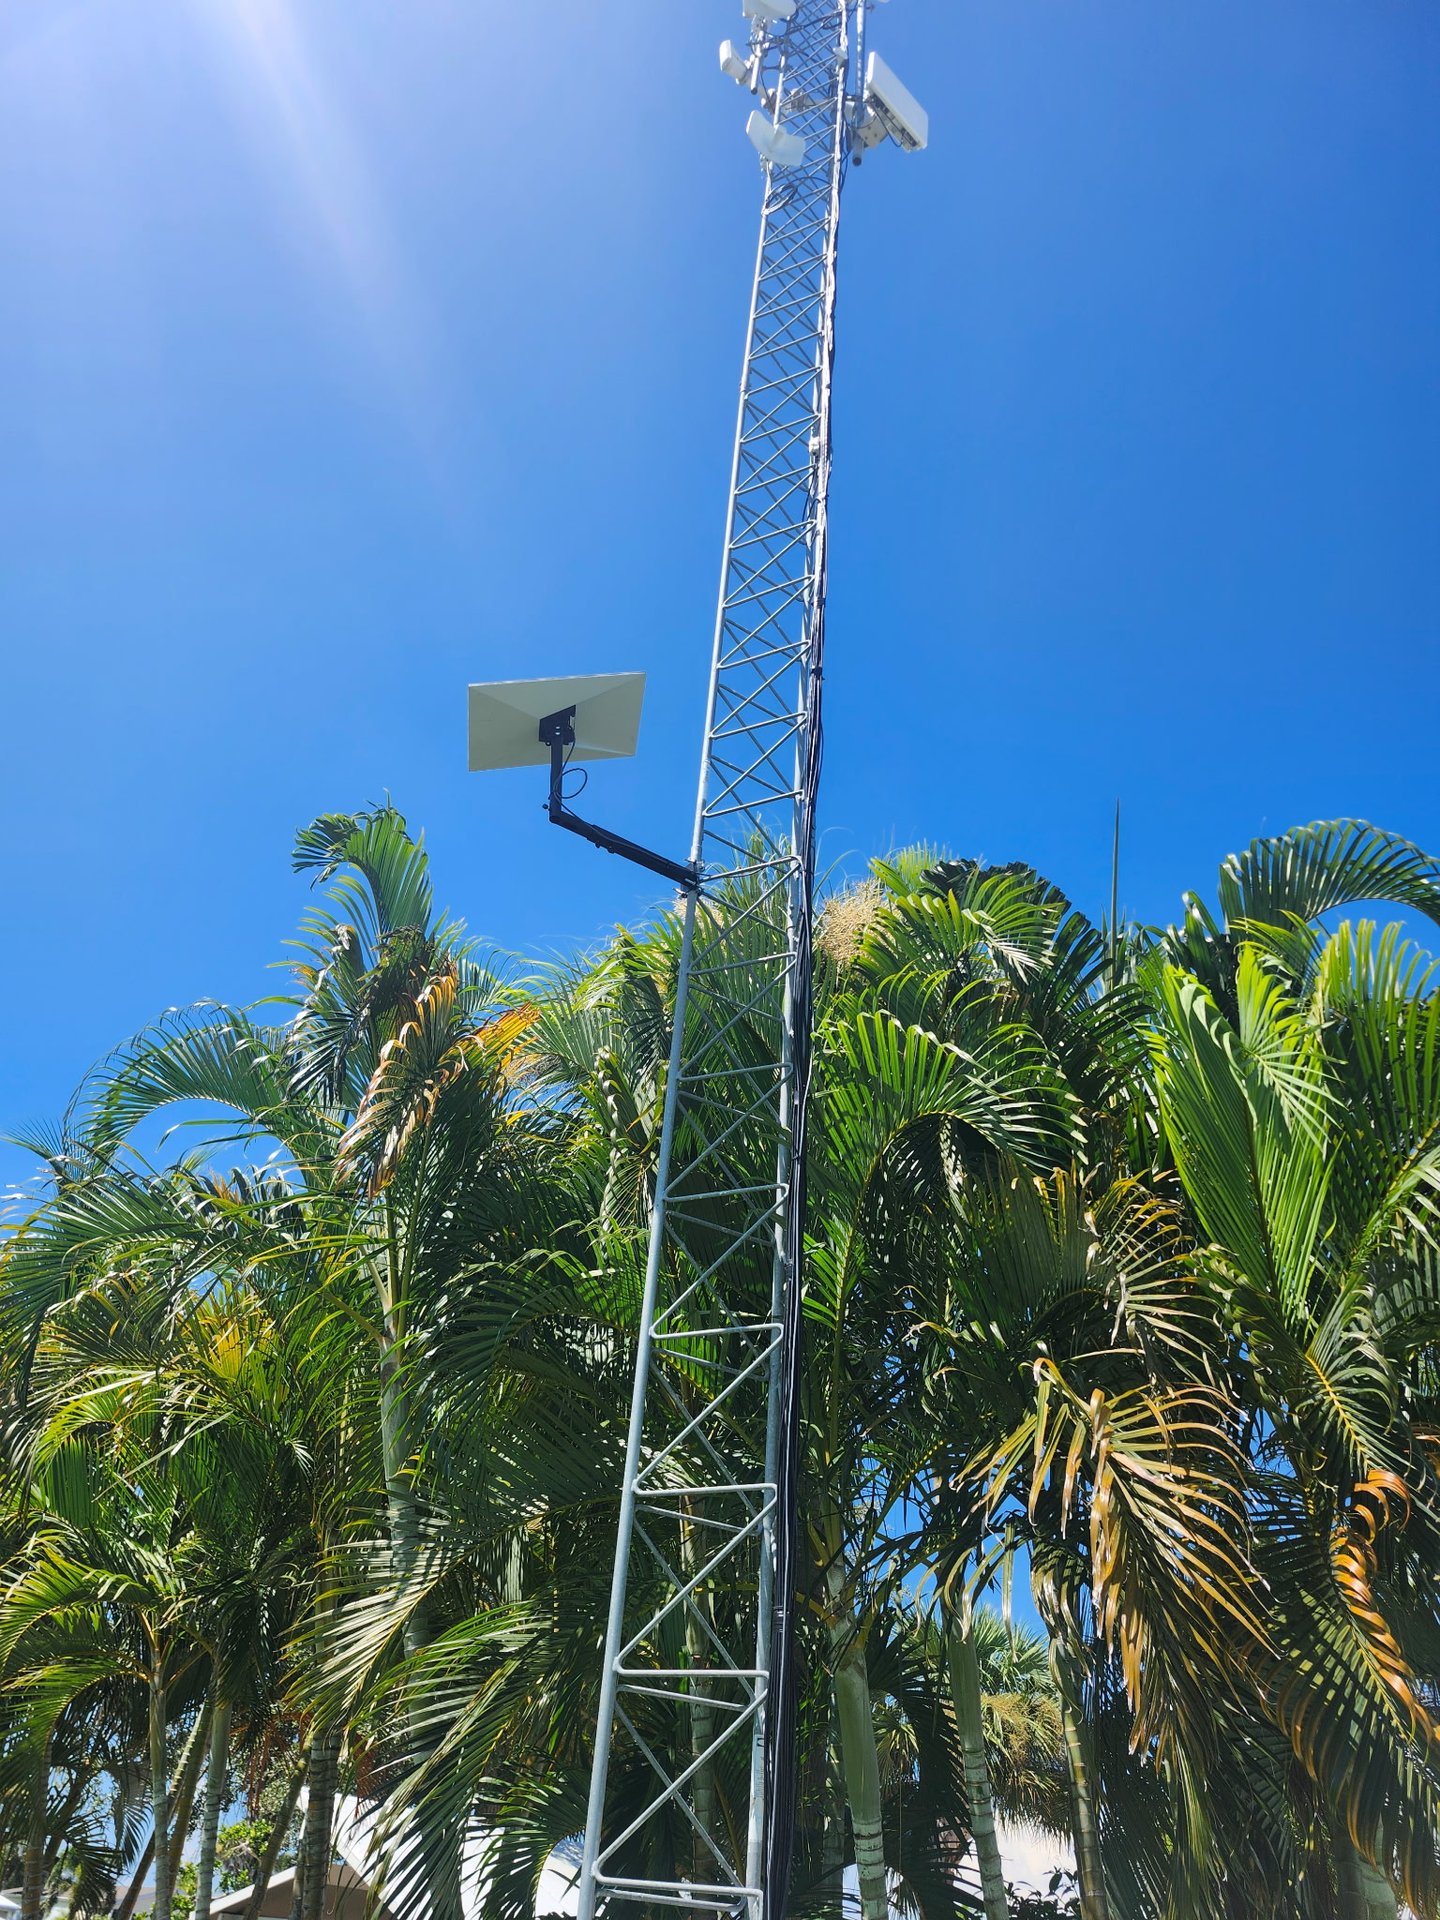
This tower site in Southwest Florida overlooks roughly 1,000 mobile homes. A fiber feed already runs back to our data center, but we wanted an off-net backup in case that path is ever cut — so Starlink serves as backhaul here, powered from the site's battery plant instead of mains. When the grid drops, the link stays up.
Parts we used
- Humsienk 48V 100Ah LiFePO₄ battery — 51.2V, 5.12kWh, 16S, rack-mount, Bluetooth/BMS.
View the battery → - ALGcom FN-4800/25-SNMP DC UPS — 48V / 25A rectifier + charger + backup, SNMP.
View the DC UPS → - Starlink Gen 3 mount — 360° adjustable telescoping wall/pole mount (Standard / 4 / 4X / Gen 3).
View the mount → - Starlink Mini DC5521 power cable — 5.5×2.1mm barrel to bare wire, 14AWG.
View the cable → - Mean Well SD-500L-48 DC-DC converter — 19–72V in, output adjustable 46–60V (set to 56V), 500W. The clean, in-spec way to feed a Gen 3 from a 48V battery.
View the converter →
As an Amazon Associate we earn from qualifying purchases. We only link to gear used in this build.
Setting up Starlink? Grab a free month.
Ordering a new Starlink for your off-grid or tower project? New customers get one month of service free through our referral — applied to the second month.
See the Free-Month Offer →FAQ
Can I power a Starlink Gen 3 from a 48V LiFePO₄ battery?
Yes. A 48V/51.2V LiFePO₄ plant runs around 54V, and Starlink's 48V-rated DC gear powers up and runs the Gen 3 router and dish at 54V. For a fully in-spec install, use gear rated for a higher input (60V+).
How do I power a Starlink Mini on DC?
The Mini takes 12–48V DC on its DC5521 (5.5×2.1mm) barrel jack. Use a barrel power cable from a 12–48V source; on a 48V/54V pack, step down to about 36V first.
How do I run Starlink off a 12V car or RV battery?
Use the Starlink UTP-241L power supply, which accepts 12–48V DC and steps it up to the 56V Starlink needs.
How much power does Starlink use on DC?
A Mini averages ~17–40W (~60W at startup). A Gen 3 runs ~75–100W, with heater surges past 180W in cold, wet weather.
Can I run Starlink on solar power?
Yes — Starlink runs well on a solar + LiFePO₄ system. Feed it regulated DC and skip the inverter entirely. Size your panels and battery for the peak draw, not the average (a Gen 3 can hit ~180W with the heater on in cold, wet weather).
Does Starlink work on 12V DC?
The Mini takes 12–48V DC directly on its barrel jack. For a Gen 3, use the Starlink UTP-241L (12–48V → 56V) to step a 12V or 24V source up to what the dish needs.
What size wire should I use for Starlink DC power?
Use at least 14AWG for a short barrel run, and go heavier for longer runs — undersized wire drops voltage and can starve the dish during its higher-current startup.
Does bypassing the power supply void the warranty?
Modifying the power path is done at your own risk and can affect warranty coverage. This guide is informational — verify every voltage with a meter.
More off-grid Starlink guides
- Starlink Mini on 12V — running the Mini off a car, RV, or battery through the barrel jack, and avoiding voltage drop.
- Starlink Gen 3 power draw & battery sizing — real watts, the heater surge, and how much battery/solar you need.
- Starlink 4 + compact router, off-grid on PoE — powering a Standard 4 with the UTR-251 router over 57V PoE from a battery. (Field build in progress.)
- Starlink vs a local WISP or fiber ISP — an honest comparison, and when a local provider is the better call.
🏠 Shop local first
Before you order from one of the big satellite carriers, take a minute to search for a local ISP or WISP in your area. Local and regional providers are often faster, cheaper, and far better on support where they reach — and your money stays in the community instead of going to the big guys. Satellite is a great option where nothing else reaches, but it's always worth checking for a local line first.
In our areas? On-Ramp Indiana (Indiana) and ETHX (Southwest Florida) offer local fiber and fixed-wireless — check coverage before you buy a dish:
On-Ramp Indiana → ETHX →